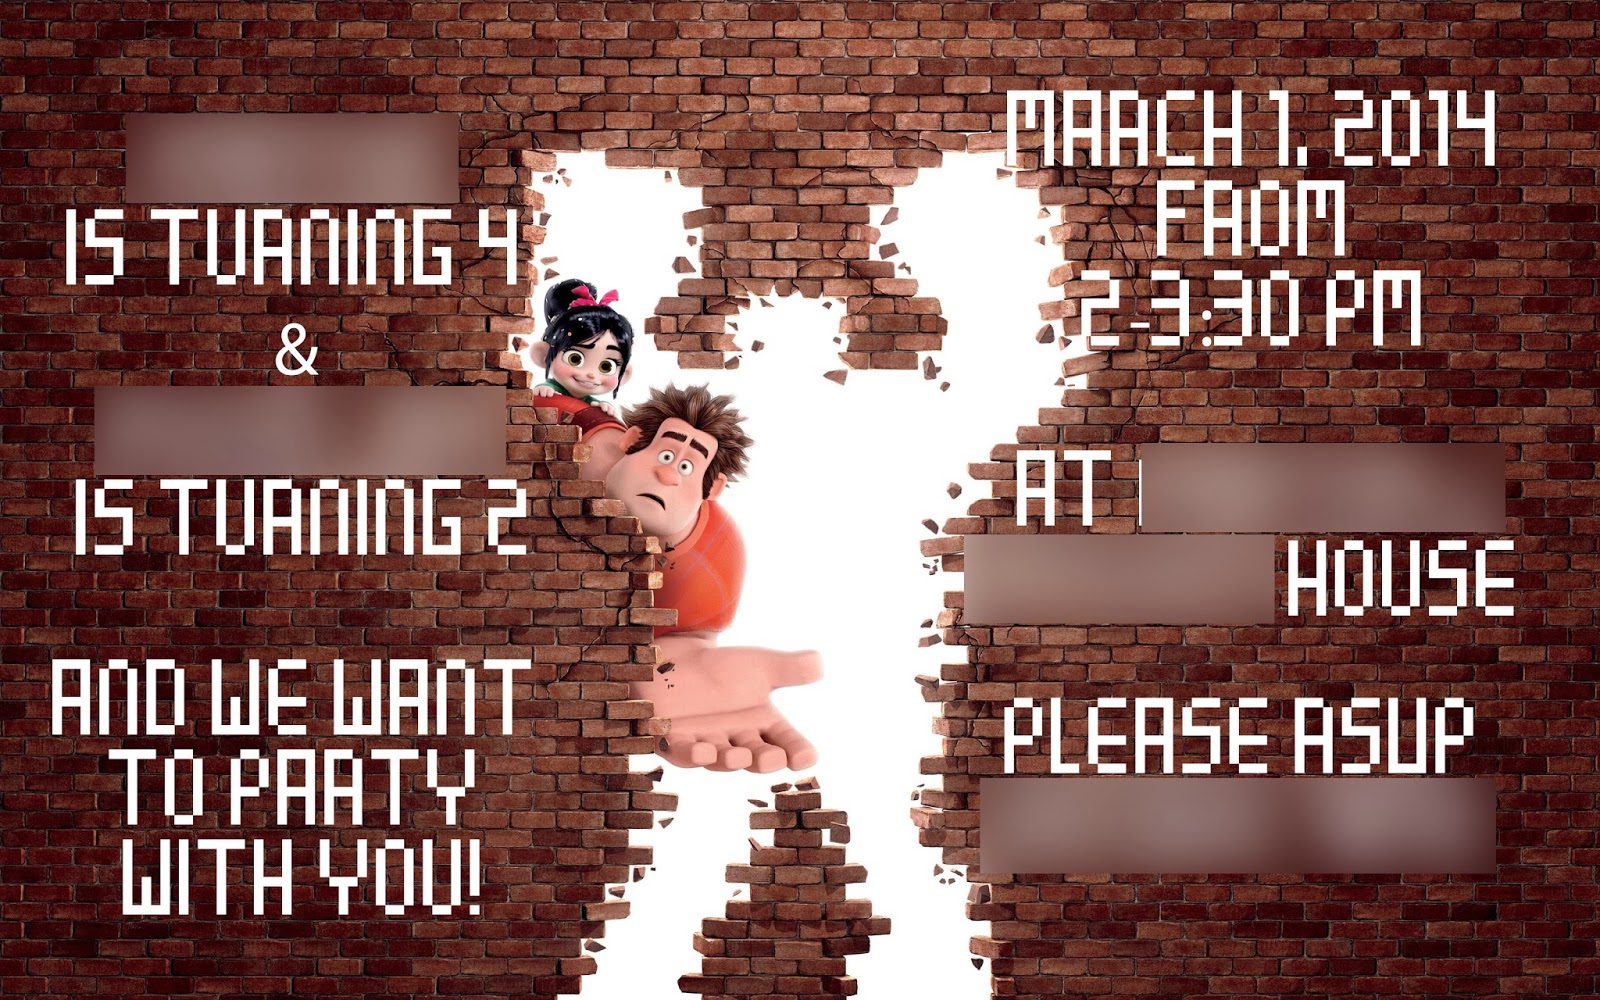
My little ones birthdays have both just happened and their party is tomorrow! I am so excited to celebrate them. Their birthdays are 4 days apart and so I've decided to combine their parties until they're old enough to ask for separate ones.
This year PJ decided to that he would like to have a Wreck It Ralph party. So I've been excitedly planning and prepping for the party. Usually I have my friend Lindsay from Artsy Fartsy Mama design our invites but I decided to give it a go myself and see how I did. I wanted to share with you a few of things things I used just in case you would like to have your own Wreck It Ralph birthday party.
For their invitation I printed these up on 4x6 photos and mailed those out:
I also printed out these drink labels for the root beer at the party.
I think Thank You Notes are so important, and written ones have become a lost art. So I designed and ordered some for my babies to write or draw on to send out after the party. I made it so that you could download and use them as well.
The one below is for one kiddo:
This is the one I will be using for mine:
If you would like to start from scratch and design your own, this is what I did.
For the invitations, I actually downloaded a wallpaper. I'm not sure if it is bad juju or not, but since it is for personal use only and not for sale and I'm not making a profit, I think it's ok.
Here is the link to the wallpaper I downloaded for the invitations:
And here it the link to the wallpaper I downloaded for the Thank You Notes:
For the invitations I wanted to have a true vintage video game feel so I downloaded a free 8-bit font. I actually found a site that had over 20 for you to choose from, so you can follow the link below to get your own:
I used photoshop elements to add the 8-bit font onto the wallpaper. BUT if you don't have elements don't you worry!
What you do is go into Power Point and open up a blank presentation. Then open up your wallpaper or picture that you'd like to use. From there you can use any of the fonts that you have downloaded onto your computer! Then save the current slide you're on as a .jpg and you're set! Super easy.
For the Thank You note, I made life even easier and I just opened up my wallpaper in PicMonkey and just used their fonts and label. From there I saved it to my computer. That is it! You truly can do this yourself!
If you have any questions about the process, I am more than happy to help you.


No comments
Post a Comment