
Hi Friends!
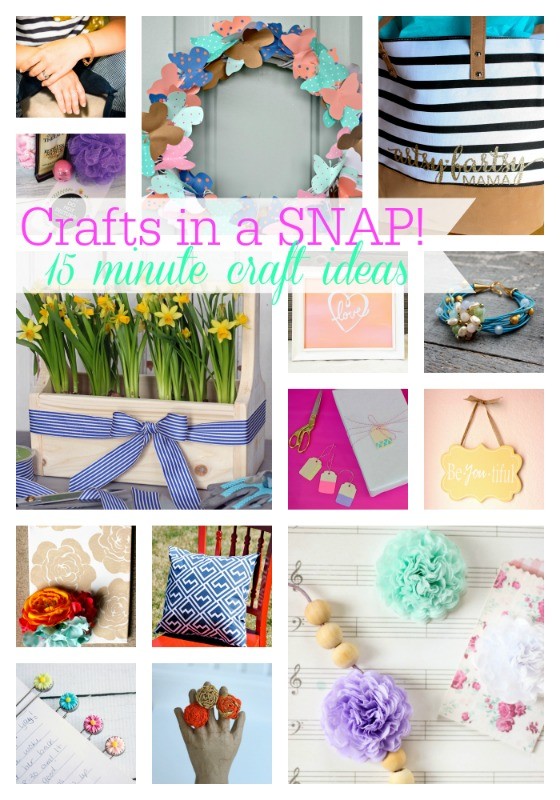
Today I'm SO excited to be at SNAP Conference in Salt Lake City surrounded by 500 other talented crafty bloggers learning, creating, and celebrating the friendships we've made because of blogging! And to celebrate with you, I teamed up with Abbey from The Cards We Drew and a large group of bloggers to create Crafts in a SNAP {15 Minute Craft Ideas} so that ANYONE, whether beginner or seasoned pro, can learn to create fun and handmade items in no time at all! Check out my tutorial for {fill in here} coming up, then scroll down below and be sure to check out some of what my blogging friends have to offer!! I hope you have fun and find some inspiration to help you get creative!
I am so excited to share with you this easy personalized tote that turns out classy and should only take you about 15 minutes. For this tote I did use my Silhouette and that's why it is so quick but I am willing to bet that if you have to do it by hand it should add an additional 15 minutes or so to your time and it is so worth it.

I made these totes for my SNAP! secret sister and my roommate as gifts. I love how they turned out and I have to admit that I have tote envy now!
Supplies:
Tote that you could use an Iron on.
Iron On Vinyl (I used Expressions Vinyl)
Iron
Silhouette
I found these tote bags on Pick Your Plum for an amazing price but you can usually find totes at Target, Walmart, etc. I just loved the pattern on these for them.
First you will open up your Silhouette program and choose a design or type out the name in the font of your choosing. After you do this step make sure you turn it into a mirror image! If you are using a Cricut and use the software, here's a great tutorial to make an image mirrored in their software. Otherwise you just click the button pictured below where the arrow is pointing to and it turns it into a mirrored image.

Once your image/font has been flipped, send it to the Silhouette and have it cut it out. You want to make sure you've adjusted to the appropriate settings since you only want to cut through the vinyl and not the clear plastic transfer part. I believe they call it a kiss cut. Isn't that cute?
Weed out your image and place it to the side for just a moment. You will prep your tote by ironing over where you want your design for about 10-15 seconds. From there you will place your design on the tote. Using your iron on the cotton/linen setting you will iron it in place for about 25-30 seconds. Be sure to follow the application instructions that are usually included with the vinyl.

After I ironed on the design in the front, I flipped my tote over and ironed from the back to make sure it was on there well.

Once the vinyl was cooled, I removed the clear plastic piece. To be extra sure my vinyl stayed in place I grabbed a thin piece of fabric, placed it on top of the vinyl and went over it one more time. I didn't want my vinyl going anywhere!

Once the vinyl was cooled, I removed the clear plastic piece. To be extra sure my vinyl stayed in place I grabbed a thin piece of fabric, placed it on top of the vinyl and went over it one more time. I didn't want my vinyl going anywhere!
It was such a quick and easy project, yet added so much fun and class to a simple tote...I'm itching to make a ton more! After all, it was only 15 minutes, and I made two!

If you have any questions please feel free to leave a comment!
Follow me on my other social media channels so that you can continue to see more fun projects and posts that I have for you.
